Oil Sampling Techniques for Lubricant Analysis: A Location-First Protocol
A sample taken from a drain port or reservoir top tells you about the sump, not the system. A sample taken from a turbulent return line tells you what the components are actually experiencing. That distinction determines whether your oil analysis data is trendable or misleading.
The same oil analyzed from two different points on the same machine can produce contradictory wear-metal readings. One point might show 15 ppm iron; another might show 80 ppm. Neither is wrong — they are measuring different things. But if you switch points between samples, you destroy trend interpretation. You cannot tell whether wear is increasing or whether you simply moved the sampling point.
The correct sampling location is where the oil is most representative of the components you are trying to protect, not where it is easiest to reach. In a circulating system, that is typically the return line downstream of the components and upstream of the filter. This is the isokinetic zone — the point where oil velocity and turbulence keep particles suspended and evenly distributed. Sampling upstream of the filter captures wear debris before it is removed. Sampling downstream of the filter gives you cleaner oil that masks the very particles you need to detect.
Reservoir dead zones, drain ports, and sight-glass bottoms are convenient but unrepresentative. They accumulate settled water, sludge, and large particles that do not reflect the circulating oil. Use them only if no other access exists, and document that limitation.
Decision rule: Sample where the oil is most representative of the components you are trying to protect, not where it is easiest to reach. If you cannot access that point, install a permanent sampling valve. The cost of a valve is trivial compared to the cost of a missed failure.
Matching Sampling Method to System Type: Hydraulics, Gearboxes, Turbines, and Compressors
The choice between vacuum extraction and valve sampling is not a matter of preference — it is a function of fluid pressure, access point geometry, contamination risk, and whether the system can be safely shut down for sampling.
Permanent sampling valves are the gold standard for circulating systems: turbines, compressors, and large hydraulic power units. They allow you to draw a sample from a live, pressurized line without shutting down. The valve must be installed in a turbulent flow zone, upstream of the filter, and sized so that the dead volume between the valve and the main flow is minimized. A valve with a long dead leg will give you a stagnant, unrepresentative sample. Use a valve with a short, swept flow path.
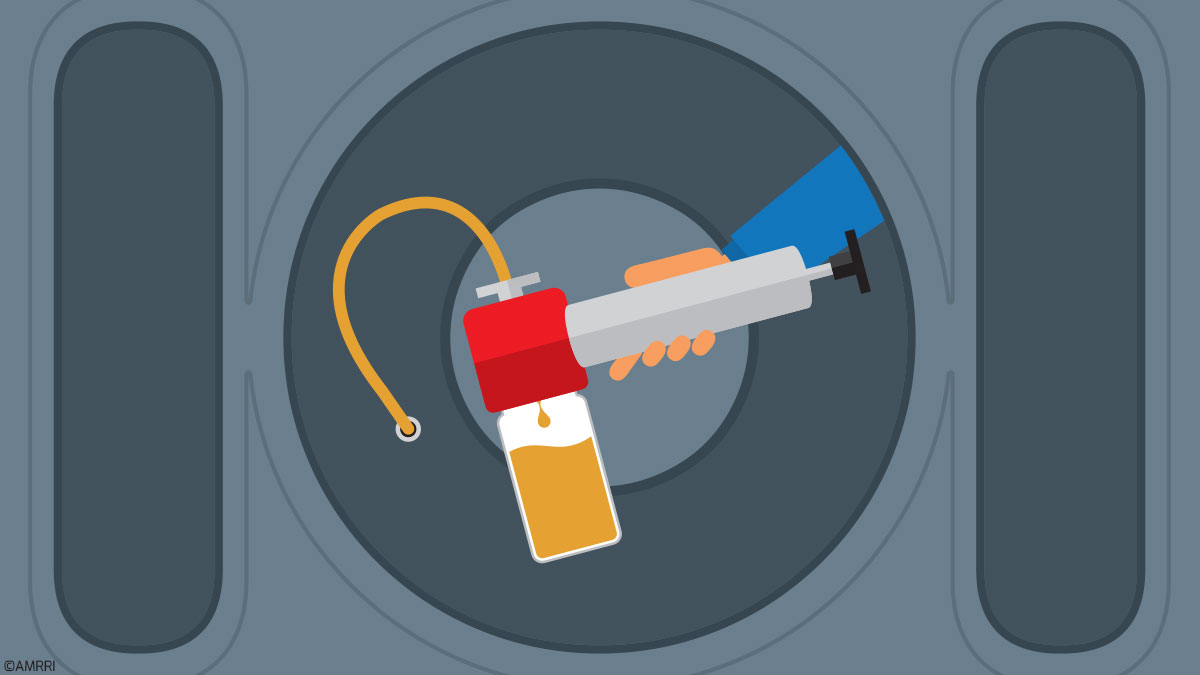
Vacuum extraction is the practical choice for gearboxes, small hydraulic reservoirs, and any system where a permanent valve is not feasible. A vacuum pump with a flexible probe lets you draw oil from a dipstick tube, a fill port, or a dedicated sampling port. The key is to sample from the same depth and location every time. Mark the probe with a depth stop so the sampling point is repeatable.
Drop-tube sampling — lowering a tube into a reservoir — is the least preferred method. It is acceptable only when no other access exists. It samples from a single point in the reservoir, which may be a dead zone. If you must use it, sample at mid-fluid depth, away from the bottom and walls, and flush the tube thoroughly before collecting.
| System Type | Recommended Method | Why |
|---|---|---|
| Hydraulic (high-pressure, small reservoir) | Vacuum extraction through a sampling valve or drop-tube | High pressure makes direct valve sampling hazardous; small reservoir means location matters even more |
| Gearbox (limited access) | Vacuum pump with flexible probe | No permanent valve; probe reaches oil in the sump |
| Turbine (circulating) | Permanent sampling valve | Continuous flow, high criticality, need for trendable data |
| Compressor (circulating) | Permanent sampling valve | Same as turbine; oil is shared with bearings and seals |
Decision criteria: If the system operates above 10 bar and you cannot safely install a valve, use vacuum extraction. If the system is critical and runs continuously, install a permanent valve. If access is limited and the system is low-criticality, vacuum extraction with a depth-marked probe is acceptable.
Step-by-Step Sampling Procedure: A Checklist for Contamination-Free, Trendable Samples
Follow this procedure exactly, every time. Consistency is what makes data trendable.
Pre-sampling checklist:
- Verify the sampling point is the same one used last time.
- Clean the area around the sampling port with a lint-free cloth.
- Prepare new tubing, a new sample bottle, and gloves.
- Label the bottle with machine ID, oil hours, date, and sampler initials.
Procedure:
- Flush the sampling port. Open the valve or insert the probe and discard the first 200–300 mL of oil. This removes stagnant oil and debris from the port itself. Never skip this step — it is the single most common source of false positives.
- Draw the sample. Fill the bottle to 75–80% capacity. Leave headspace for thermal expansion and to prevent the bottle from bursting during transport. Do not overfill.
- Cap immediately. Use a new cap. Do not touch the inside of the cap or the bottle neck.
- Label the bottle with machine ID, oil hours, date, and sampler initials. Use a permanent marker or a pre-printed label. Do not rely on memory.
- Record the sampling point in your log. If you changed the point, note it. This is critical for trend interpretation.
- Ship promptly. Send samples to the lab within 24–48 hours. Store them upright, away from heat and sunlight.
Contamination control: Use new tubing for each sample. Never reuse a bottle. Never sample from a drain plug unless no other option exists. If you must sample from a drain plug, flush it thoroughly and note the limitation.
How Often Should You Sample? A Criticality-and-Condition-Based Frequency Model
Calendar-based sampling intervals are a starting point, not a strategy. The right frequency depends on equipment criticality and oil condition.
Criticality tiers:
- High criticality (turbines, main hydraulic systems, compressors): Sample monthly or condition-triggered. These systems have high repair costs and long lead times. A missed failure can cost tens of thousands.
- Medium criticality (gearboxes, auxiliary hydraulics): Sample quarterly or at oil-change intervals. These systems are important but not production-critical.
- Low criticality (non-critical pumps, standby equipment): Sample at oil-change intervals or annually. The cost of analysis may exceed the risk.
Condition-based triggers:
- After a repair or component replacement.
- After a contamination event (e.g., seal failure, water ingress).
- When oil analysis results show an upward trend in wear metals or moisture.
- When oil appearance changes (darkening, cloudiness, odor).
How sampling quality affects interpretation: A sample taken from a dirty port or a dead zone can show high wear metals that are not actually in the circulating oil. This triggers unnecessary maintenance. Conversely, a sample taken downstream of a filter can show low wear metals while the system is actively wearing. Both errors lead to wrong decisions. The frequency model only works if the sample itself is representative.
Common Sampling Mistakes That Ruin Oil Analysis Data — and How to Avoid Them
Mistake 1: Sampling from the drain plug. The drain plug is at the bottom of the sump, where water, sludge, and large particles settle. A sample from here will show high contamination that does not reflect the circulating oil. Avoid it. If you must use it, flush thoroughly and note the limitation.
Mistake 2: Using dirty bottles. A dirty bottle introduces contamination that shows up as wear metals or dirt. Always use new, clean bottles. Never rinse a bottle with the oil you are sampling — that oil may already be contaminated.
Mistake 3: Not flushing the sampling port. The first oil out of the port is stagnant oil from the dead leg. It contains debris that has accumulated since the last sample. Flush 200–300 mL before collecting.
Mistake 4: Sampling at the wrong time. Sampling cold oil gives you a sample that is not representative of operating conditions. Sample when the oil is at normal operating temperature. Do not sample immediately after a top-up — the fresh oil has not mixed with the circulating oil.
Mistake 5: Inconsistent sampling points. If you sample from a different point each time, you cannot trend the data. Mark your sampling points and use them consistently. Document any changes.
Mistake 6: Sampling from a pressurized line without a proper valve. This is dangerous and can give you a non-representative sample. Use a proper sampling valve rated for the system pressure.
From Sample to Decision: How Sampling Quality Shapes Oil Analysis Interpretation and Maintenance Actions
A rising iron trend from a gearbox sample taken upstream of the filter may trigger an inspection. The same trend from a drain sample may be dismissed as noise. The difference is sampling quality.
When you sample from a representative point, you can trust the data. A 20 ppm increase in iron means something. A 20 ppm increase from a drain sample might just mean you stirred up the sump. The maintenance decision — inspect, repair, or continue monitoring — depends entirely on whether the sample reflects the system.
Adjusting sampling based on findings: If a sample shows high moisture, increase sampling frequency and add a specific moisture test until the issue is resolved. If a sample shows a rising wear trend, sample more frequently and consider a particle count. If a sample shows normal results, you can extend the interval — but only if the sampling point and method are consistent.
Closing the loop: The lab report is not the end. It is the beginning of a decision. Review the report, compare it to previous results, and adjust your sampling plan. If the data is not trendable, fix the sampling first. No amount of laboratory analysis can compensate for a bad sample.
Building a Sampling Program: Training, Equipment, and Consistency for Long-Term Trendability
A sampling program is not a set of bottles and a pump. It is a system that includes written procedures, designated sampling points, labeled bottles, trained personnel, and a feedback loop from lab results to sampling adjustments.
Training: Everyone who takes a sample must be trained on the procedure. This includes mechanics, operators, and anyone else who might draw a sample. Training should cover location selection, flushing, bottle handling, and labeling. A one-hour session is enough to prevent most common errors.
Equipment: Standardize your equipment. Use the same vacuum pump, the same tubing, and the same bottles across your fleet. This reduces variability. For systems with permanent valves, use the same valve type and location. For vacuum extraction, use depth-marked probes so the sampling point is repeatable.
Documentation: Keep a log of every sample. Record the machine ID, sampling point, oil hours, date, and sampler. This log is your trend history. Without it, you cannot interpret results.
Feedback loop: When the lab reports a problem, adjust your sampling. If a sample shows high wear, sample more frequently. If it shows normal results, you can extend the interval. The program should be dynamic, not static.
ROI: A well-run sampling program costs a few hundred dollars per year per machine. A single missed failure can cost thousands. The ROI is not in the lab tests — it is in the decisions you make with reliable data. And reliable data starts with the sample.
Consistency and location discipline are non-negotiable for trendable data. If you change the sampling point, you change the data. If you change the procedure, you change the data. The only way to trend is to sample the same way, from the same place, every time.
FAQ
Can I sample from the drain plug if that is the only access point?
Only as a last resort. The drain plug sits at the bottom of the sump where water, sludge, and large particles settle. A sample from here will show high contamination that does not reflect the circulating oil. If you must use it, flush thoroughly and document the limitation in your log so future trend interpretation accounts for the non-representative point.
How much oil should I discard when flushing the sampling port?
Discard 200–300 mL. This removes stagnant oil and debris from the dead leg of the port. Skipping this step is the single most common source of false positives in oil analysis.
What is the correct bottle fill level for an oil sample?
Fill the bottle to 75–80% capacity. Leave headspace for thermal expansion and to prevent the bottle from bursting during transport. Do not overfill.
How soon should I ship oil samples to the lab?
Send samples within 24–48 hours. Store them upright, away from heat and sunlight. Delays can allow contamination or chemical changes that affect results.
Can I use the same sampling point for a gearbox and a hydraulic system?
No. The sampling point must be matched to the specific lubricated system and its operating conditions. Gearboxes typically require vacuum extraction with a depth-marked probe; hydraulic systems may use a permanent sampling valve or vacuum extraction depending on pressure and access. Using the wrong point or method produces misleading trends.
What should I do if I have to change the sampling point?
Document the change in your log and note it on the sample label. Changing the point resets your trend baseline — you cannot compare new data to old data without accounting for the different location. Ideally, install a permanent sampling valve so the point remains consistent.